Course platforms are convenient until you look at the fees, the limits on your own branding and the fact that your students technically belong to someone else. If you already run a WordPress site, you can sell courses yourself, keep every customer record and use the same checkout as the rest of your store.
This guide shows how to sell online courses with WooCommerce: how to structure the course, which pricing model to choose, how to protect lessons and drip them out, and when you need a full learning management system (LMS) on top.
Key takeaways
What You Need to Sell Courses on WooCommerce
WooCommerce on its own can sell a product, but it cannot hide your lessons from people who did not buy. You need three pieces:
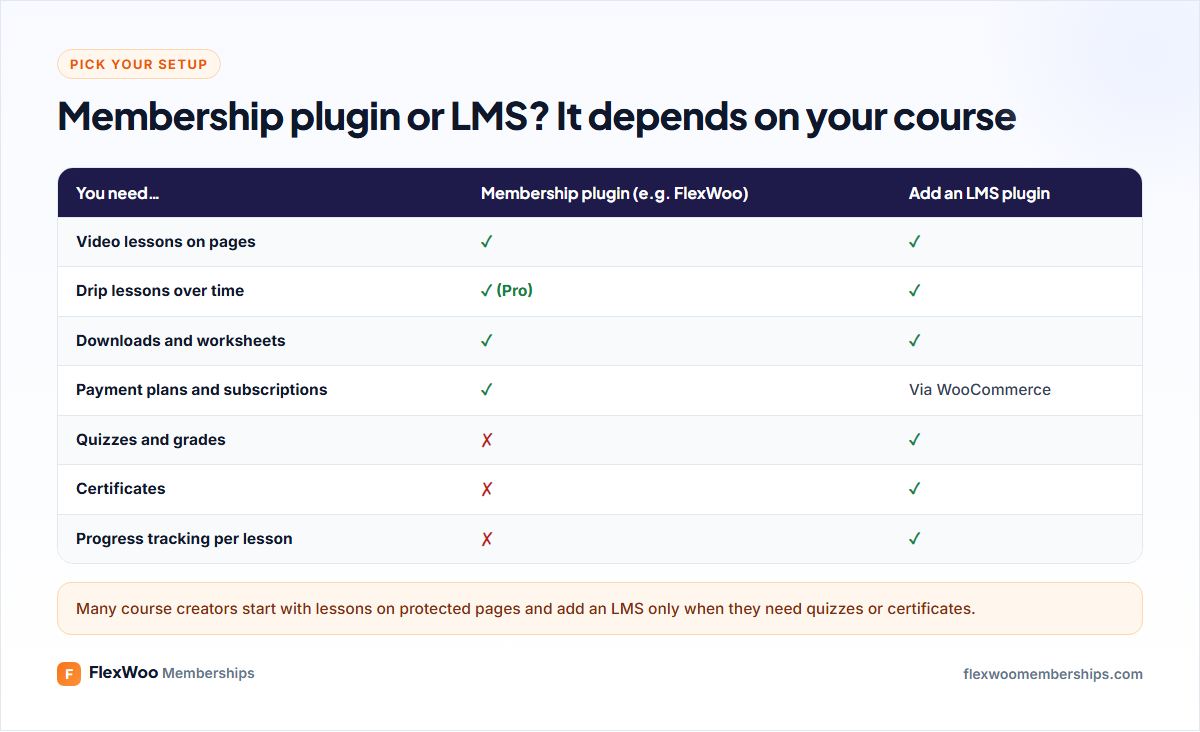
If your course needs quizzes, grades, certificates or a progress bar for each lesson, add an LMS plugin. If it is mostly video, text and worksheets, lessons on protected pages are simpler and faster to build.
Step 1: Plan Your Course Structure
Before you build anything, write the outline: the result a student will get, the modules that get them there, and the lessons inside each module. Short lessons (5–15 minutes) get finished; hour-long videos do not. A common structure:
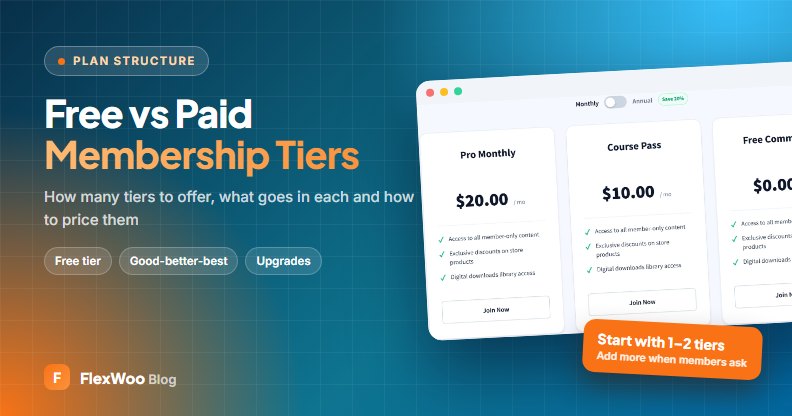
Step 2: Choose a Pricing Model
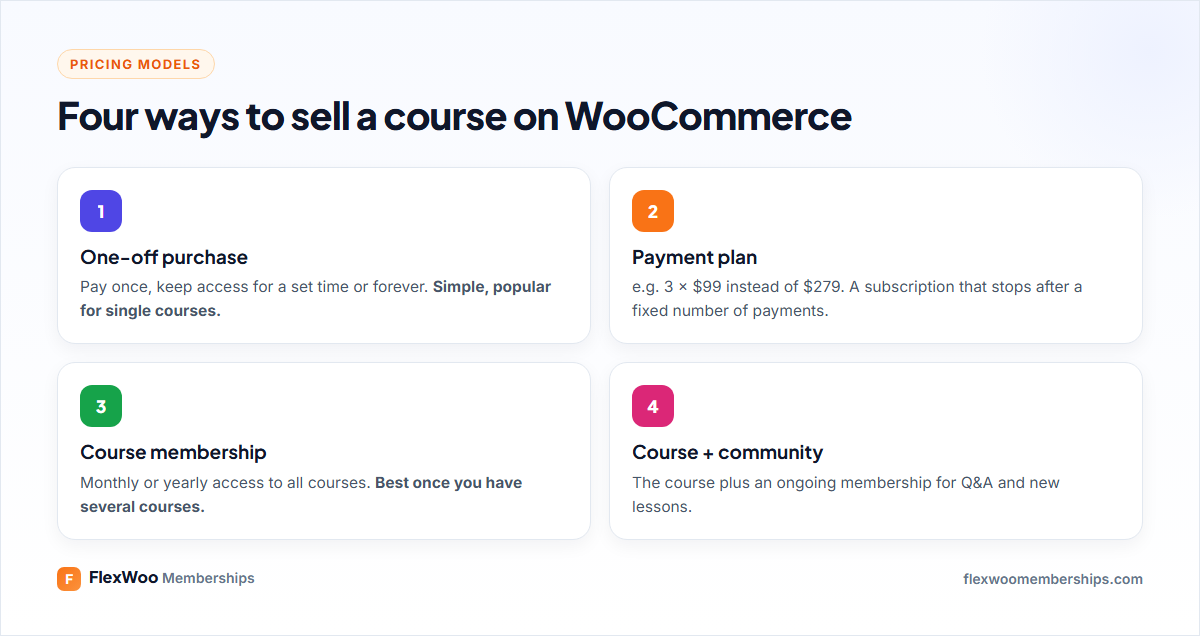
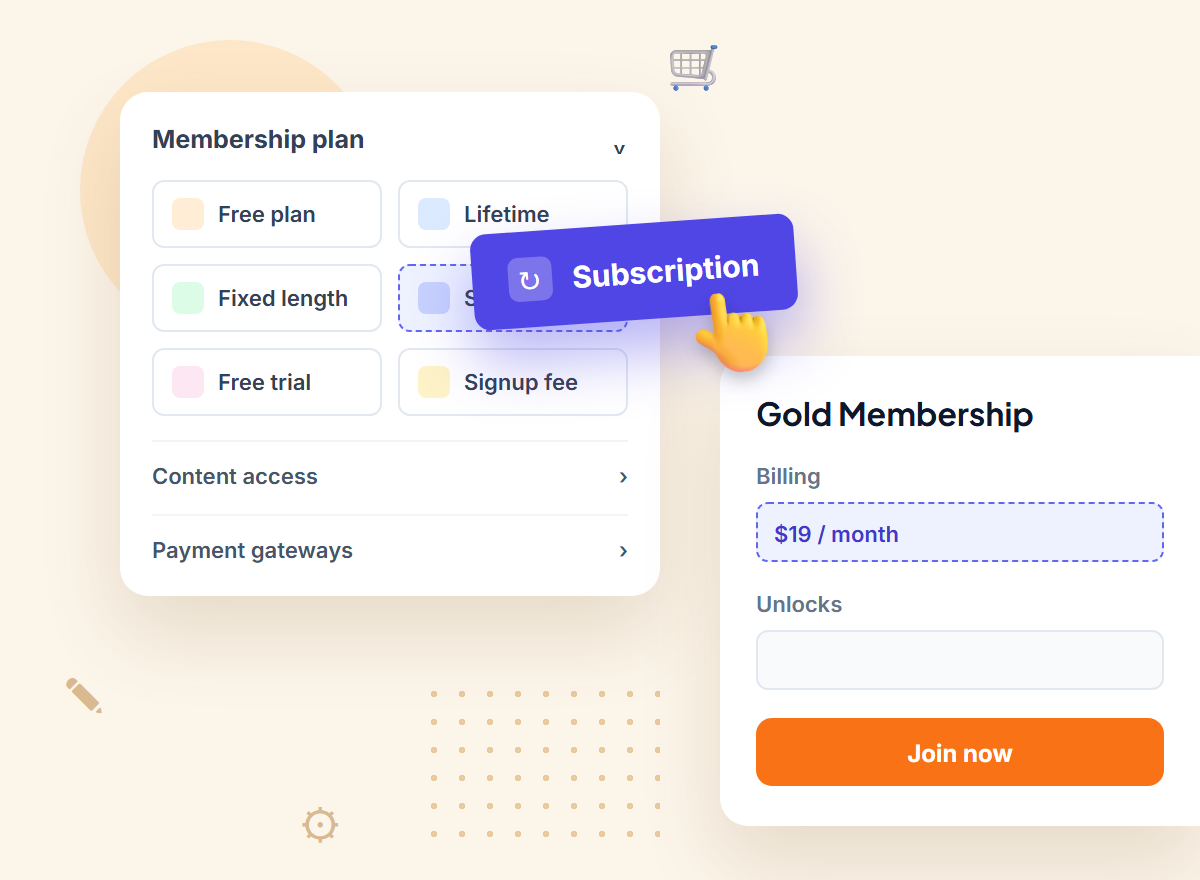
With WooCommerce and FlexWoo Memberships, each model is a membership plan linked to a product:
| Model | Plan type | Example |
|---|---|---|
| One-off, lifetime access | Lifetime (Pro) | $249 once |
| One-off, time-limited access | Fixed duration | $149 for 12 months of access |
| Payment plan | Subscription with a fixed number of payments | 3 × $89 |
| Course membership | Subscription until cancelled | $29 a month for all courses |
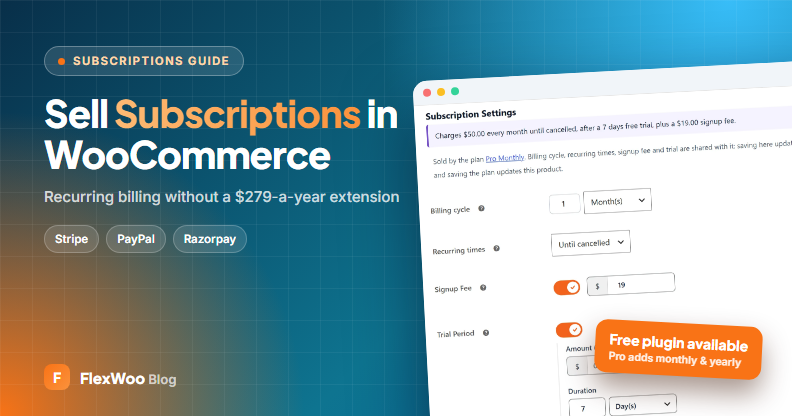
Payment plans are a big lever for higher-priced courses. On the subscription product, set Recurring times to a fixed number of payments instead of “until cancelled”. The subscription then stops after the last payment. Decide what happens next with the End Of Term Action under Subscriptions → Settings (Pro), for example moving the student to a lifetime plan for the course so their access continues. Need help picking a price? See how to price a membership.
Plan note: monthly billing, lifetime plans and drip content need FlexWoo Memberships Pro. The free plugin supports fixed-duration plans and subscriptions billed every 1–7 days or 1–3 weeks.
Step 3: Build Your Lessons
Create a page for each lesson (or a post in a “Course” category). Embed the video at the top, add a short written summary below, and attach any worksheet. Use a parent page for the course home with links to every module, so students always know where they are.
Tip: use WordPress’s page parents to create clean URLs like /course/module-1/lesson-2/, and add “Next lesson” links at the bottom of each page.
Step 4: Lock the Lessons
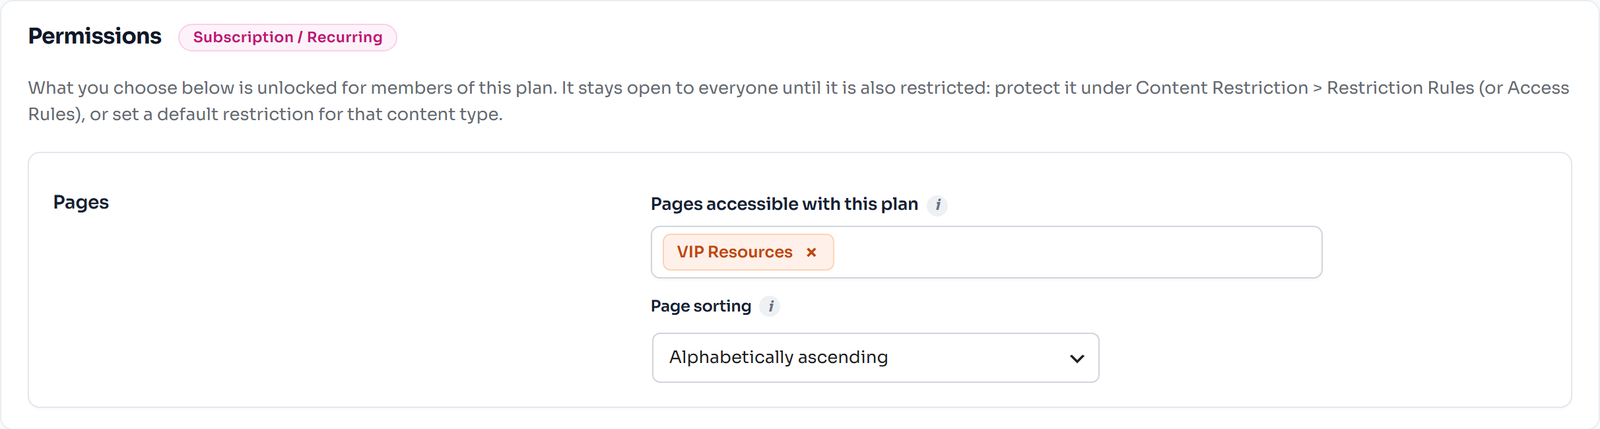
In the plan editor, add your lesson pages, or the Course category, to the content the plan unlocks. Then choose what non-buyers see under Content Restriction → Restriction Rules: usually a redirect to the course sales page.
Leave the first lesson free as a preview. It is the best sales page you will ever write. Our guide to restricting content in WordPress covers every restriction option.
Step 5: Drip Lessons Over Time (Optional)
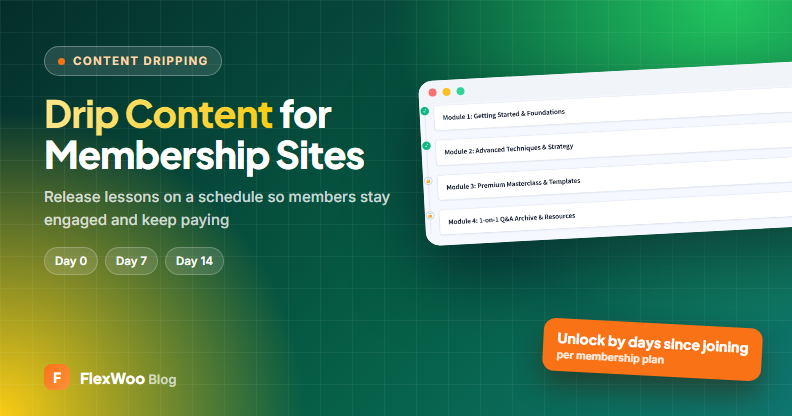
Releasing one module a week keeps students moving and prevents the “download everything, ask for a refund” problem. With Pro, set each lesson to unlock a number of days after signup in its Membership Options panel, and add the Drip Content Schedule block to the course home so students see what is coming.
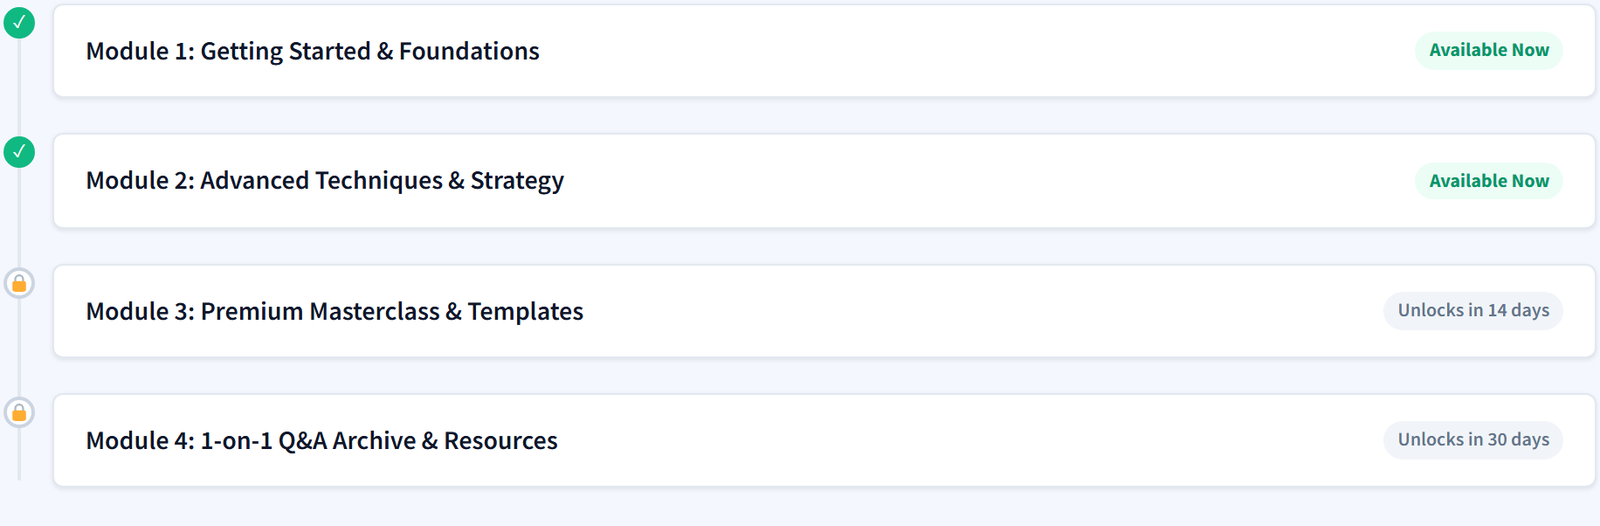
More on planning a schedule in our guide to drip content.
Step 6: Add Downloads and Bonuses
Worksheets, templates and bonus files make a course feel complete. Sell them as downloadable products included in the plan, so students download them free, and with Pro they are served through signed, expiring links that cannot be shared. See how to protect downloadable files.
Step 7: Create a Student Home Page
Students should never land on an empty account page. Create a “My Courses” page with links to each course, the Drip Content Schedule and their downloads, then send students there after login with a redirection rule (FW Memberships → Settings → Redirection Rules).
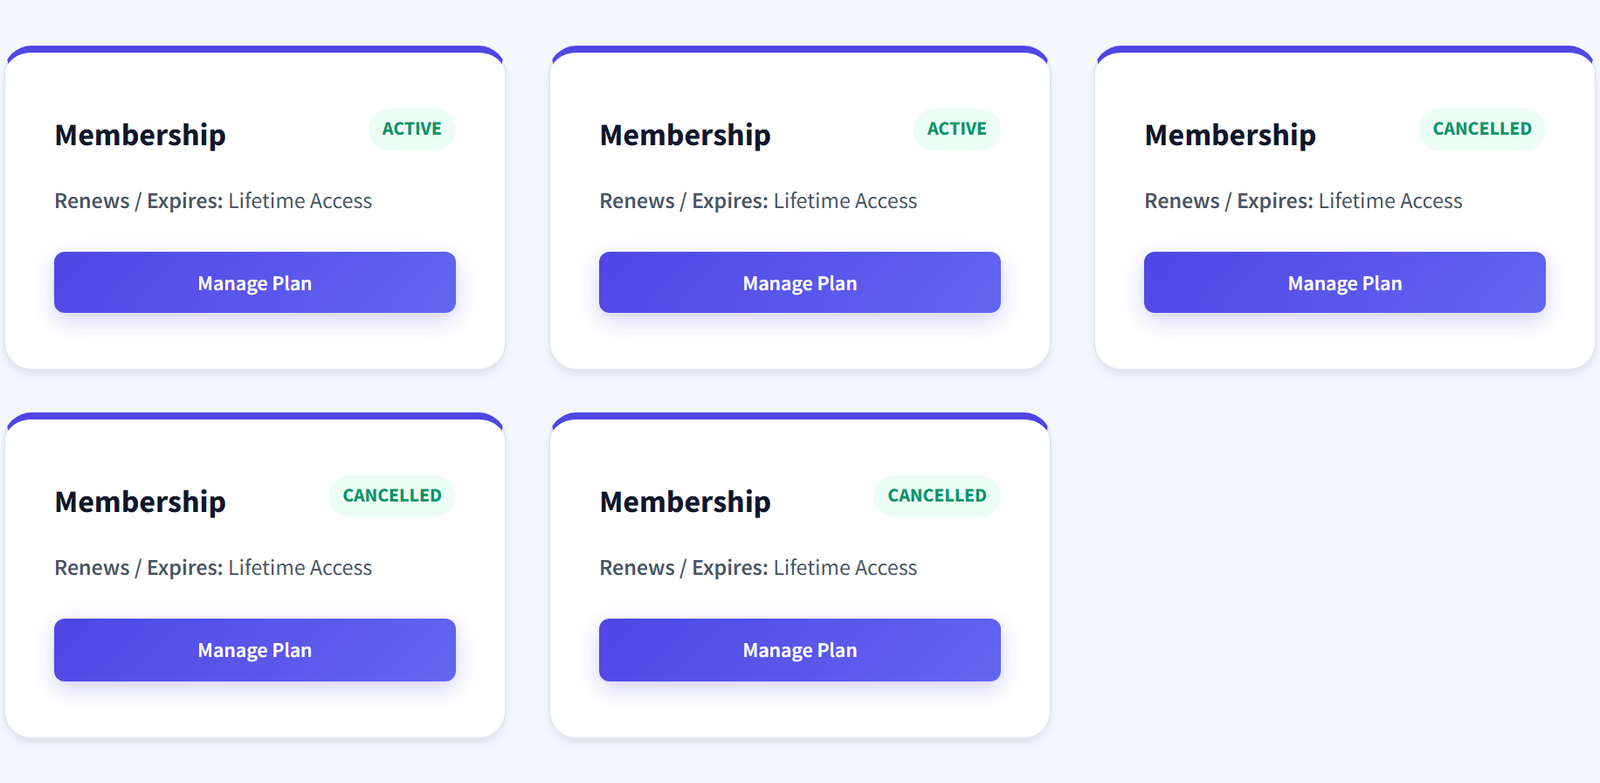
With Pro, the Member Dashboard Hub block puts a student’s plans, status and quick links in one panel.
Step 8: Test the Student Journey
When to Add an LMS Plugin
Add an LMS when you need graded quizzes, certificates of completion, or a progress tracker per lesson. Most LMS plugins sell courses through WooCommerce too. FlexWoo Memberships protects pages, posts and products out of the box; protecting an LMS’s own lesson post types needs a developer to add them with the flexwoomemberships_supported_post_types filter, so check before you combine them.
FAQ: Selling Courses with WooCommerce
Own Your Courses
Selling courses on your own WooCommerce store takes a little more setup than a hosted platform, but you keep the customers, the data and the margin. Start with one course on protected pages, a simple price and a free first lesson. You can always add drip, payment plans or an LMS once students are enrolling.